GBHOME
XPS Tile Backer Insulation Boards 1200mmx600mm
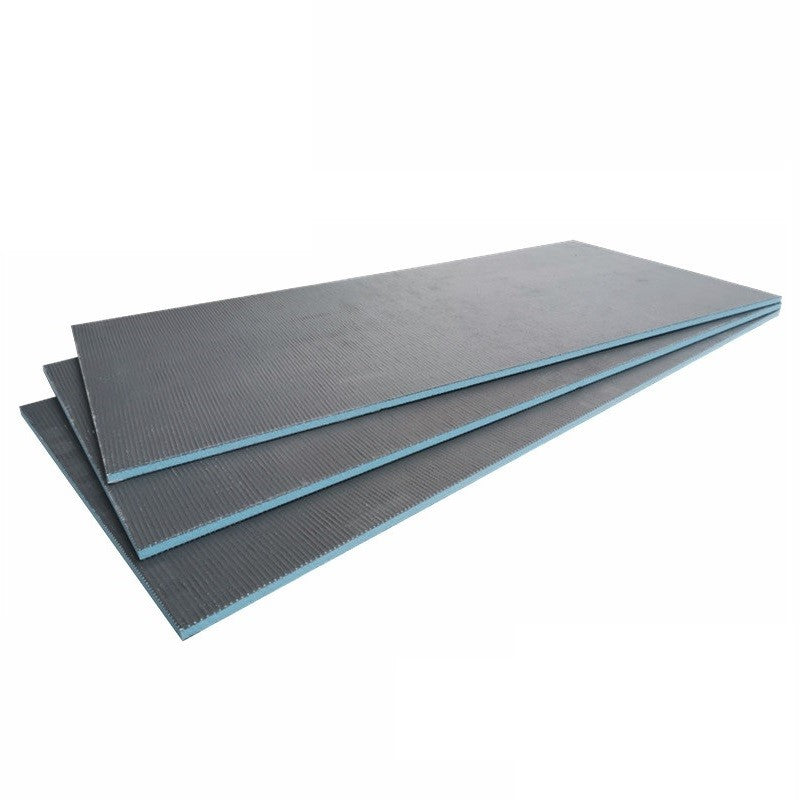
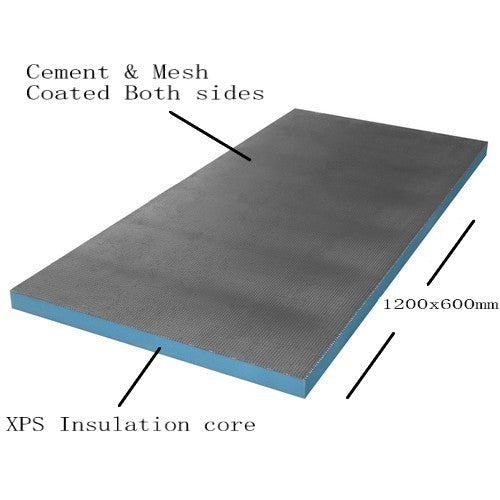
XPS Tile Backer Insulation Boards 1200mmx600mm
Couldn't load pickup availability
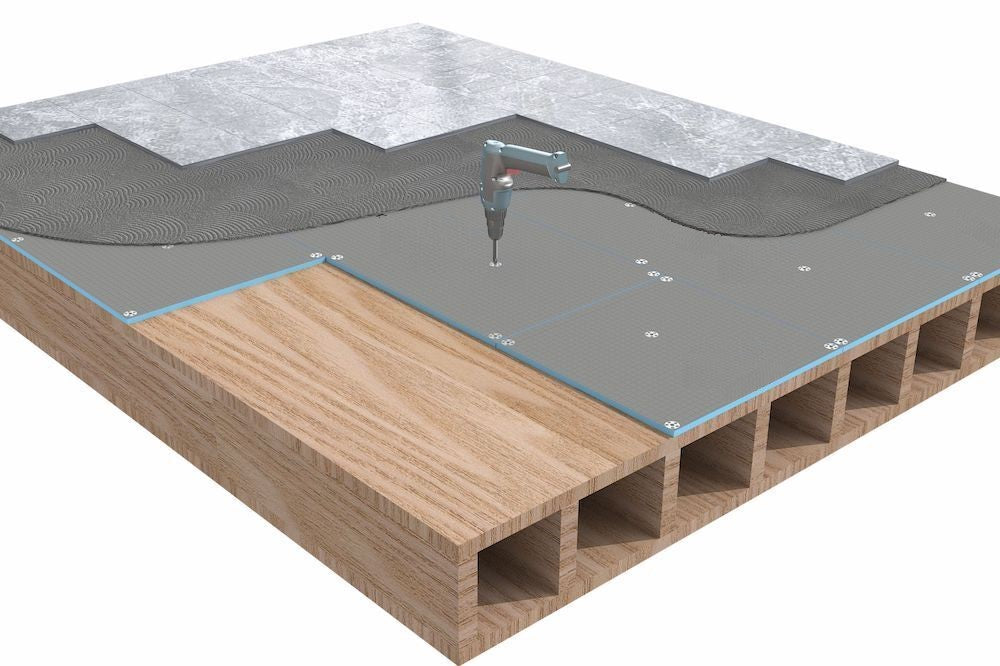
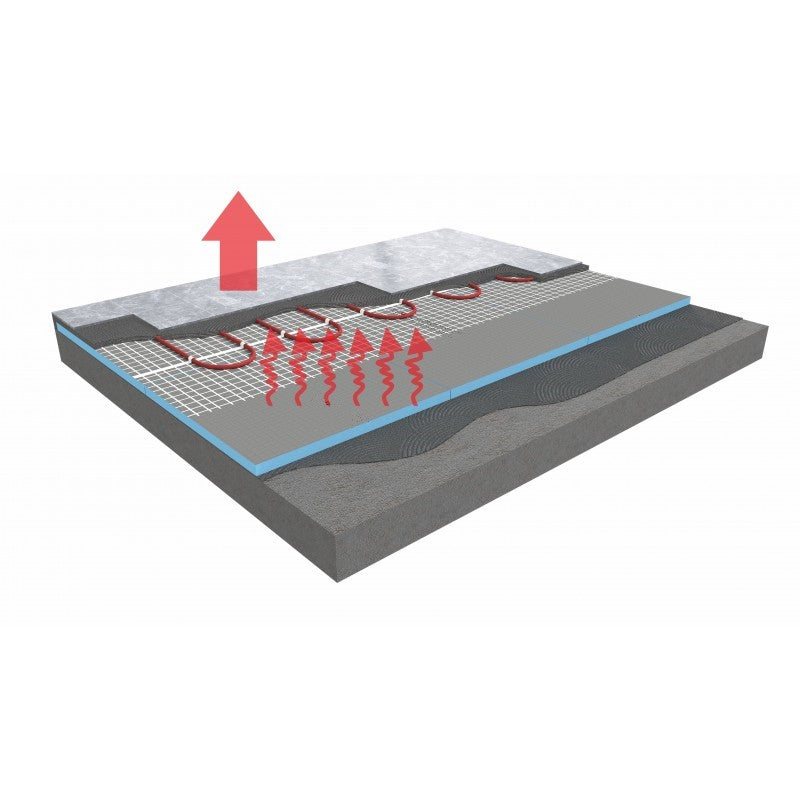
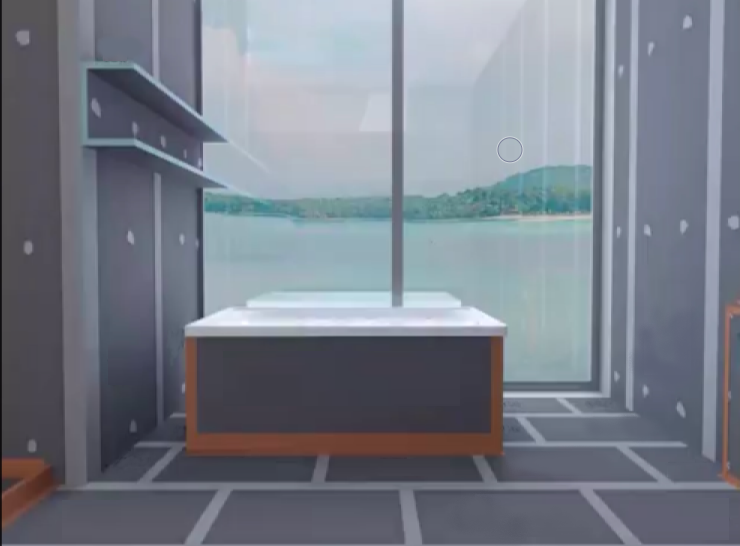
Our XPS Tile Backer Boards provide a strong, waterproof and thermally efficient base for tiling in wet rooms, bathrooms, shower areas and underfloor heating systems. Designed for both DIY and professional installers, these boards offer excellent moisture protection, high compressive strength and quick, easy installation.
Key Features
Waterproof & Moisture Resistant
Made from closed-cell extruded polystyrene (XPS), these backer boards prevent water absorption, mould growth and rot — ideal for high-moisture environments.
Strong Yet Lightweight
The reinforced cementitious coating delivers high strength and durability while keeping the boards lightweight and easy to handle.
Multiple Thickness Options
Choose from 6mm, 10mm, 12mm or 20mm depending on your installation needs. Use thinner panels for walls and thicker options for flooring or insulation upgrades.
Improved Thermal Insulation
Perfect for underfloor heating projects, the XPS core maintains heat efficiency and reduces heat loss through subfloors.
Easy to Cut & Install
Score, snap or cut with a utility knife for fast fitting. Suitable for tiles of all sizes and heavy load applications.
Recommended Use Cases
-
Wet rooms & shower enclosures
-
Bathroom walls and floors
-
Underfloor heating systems
-
Tiling over uneven or cold surfaces
-
Waterproofing and insulation projects
-
Lightweight partition walls and niches
Product Specifications
Panel Size
-
1200mm × 600mm
Available Thicknesses
-
6mm
-
10mm
-
12.5mm
-
20mm
Material
-
XPS (Extruded Polystyrene) core
-
Cement-coated surface reinforcement
Performance Ratings
-
High compressive strength
-
Excellent water resistance
-
Suitable for heavy wall & floor tiles
-
Dimensionally stable